If you've been following along with my blog and travels, you may have noticed that my hair has become quite...yellow. I didn't realize how yellow my hair became until my trip to Puerto Vallarta. Since a friend's wedding was coming up soon and I wanted to save some money, I decided to give a DIY at-home box dye session a try.
So I'm sure you're wondering how my hair got this way in the first place.
Well, I've always had the usual dark, black colored Asian hair and have always stuck with the simple, subtle caramel/chocolate/cocoa/brown colors when I get my hair balayage-d (is that even a word?). I've always wanted to try an ashy light brown for a change, and so, I finally did it!
Going with the lighter color came with a lot of maintenance (relatively). I had to change over and use purple shampoo to keep the color tone. From what my other dark-haired-friends-gone-light have told me, they typically get their hair recolored every 6 weeks to maintain..."the look." That's where I slacked because I typically only get my hair colored once a year or not at all. Also, I couldn't justify the expense just to maintain "the look." Although it was fun having beautiful light ash brown hair, I decided to just see how long I last without all of these maintenance sessions.
Then came my trip to Puerto Vallarta.
My natural, dark, virgin hair had grown out quite a few inches by then and really made a stark contrast against the yellow (and some parts turning orange) in my hair. The picture that caught my attention was when my husband and I did our waterfall hike. Then, fast-forward to my friend's bridal shower. The stark contrast was even more noticeable with the dark, natural hair even longer than prior. My hair was so...dead, crispy, crunchy, static-y. I knew I had to do or try something to get my hair back on track.
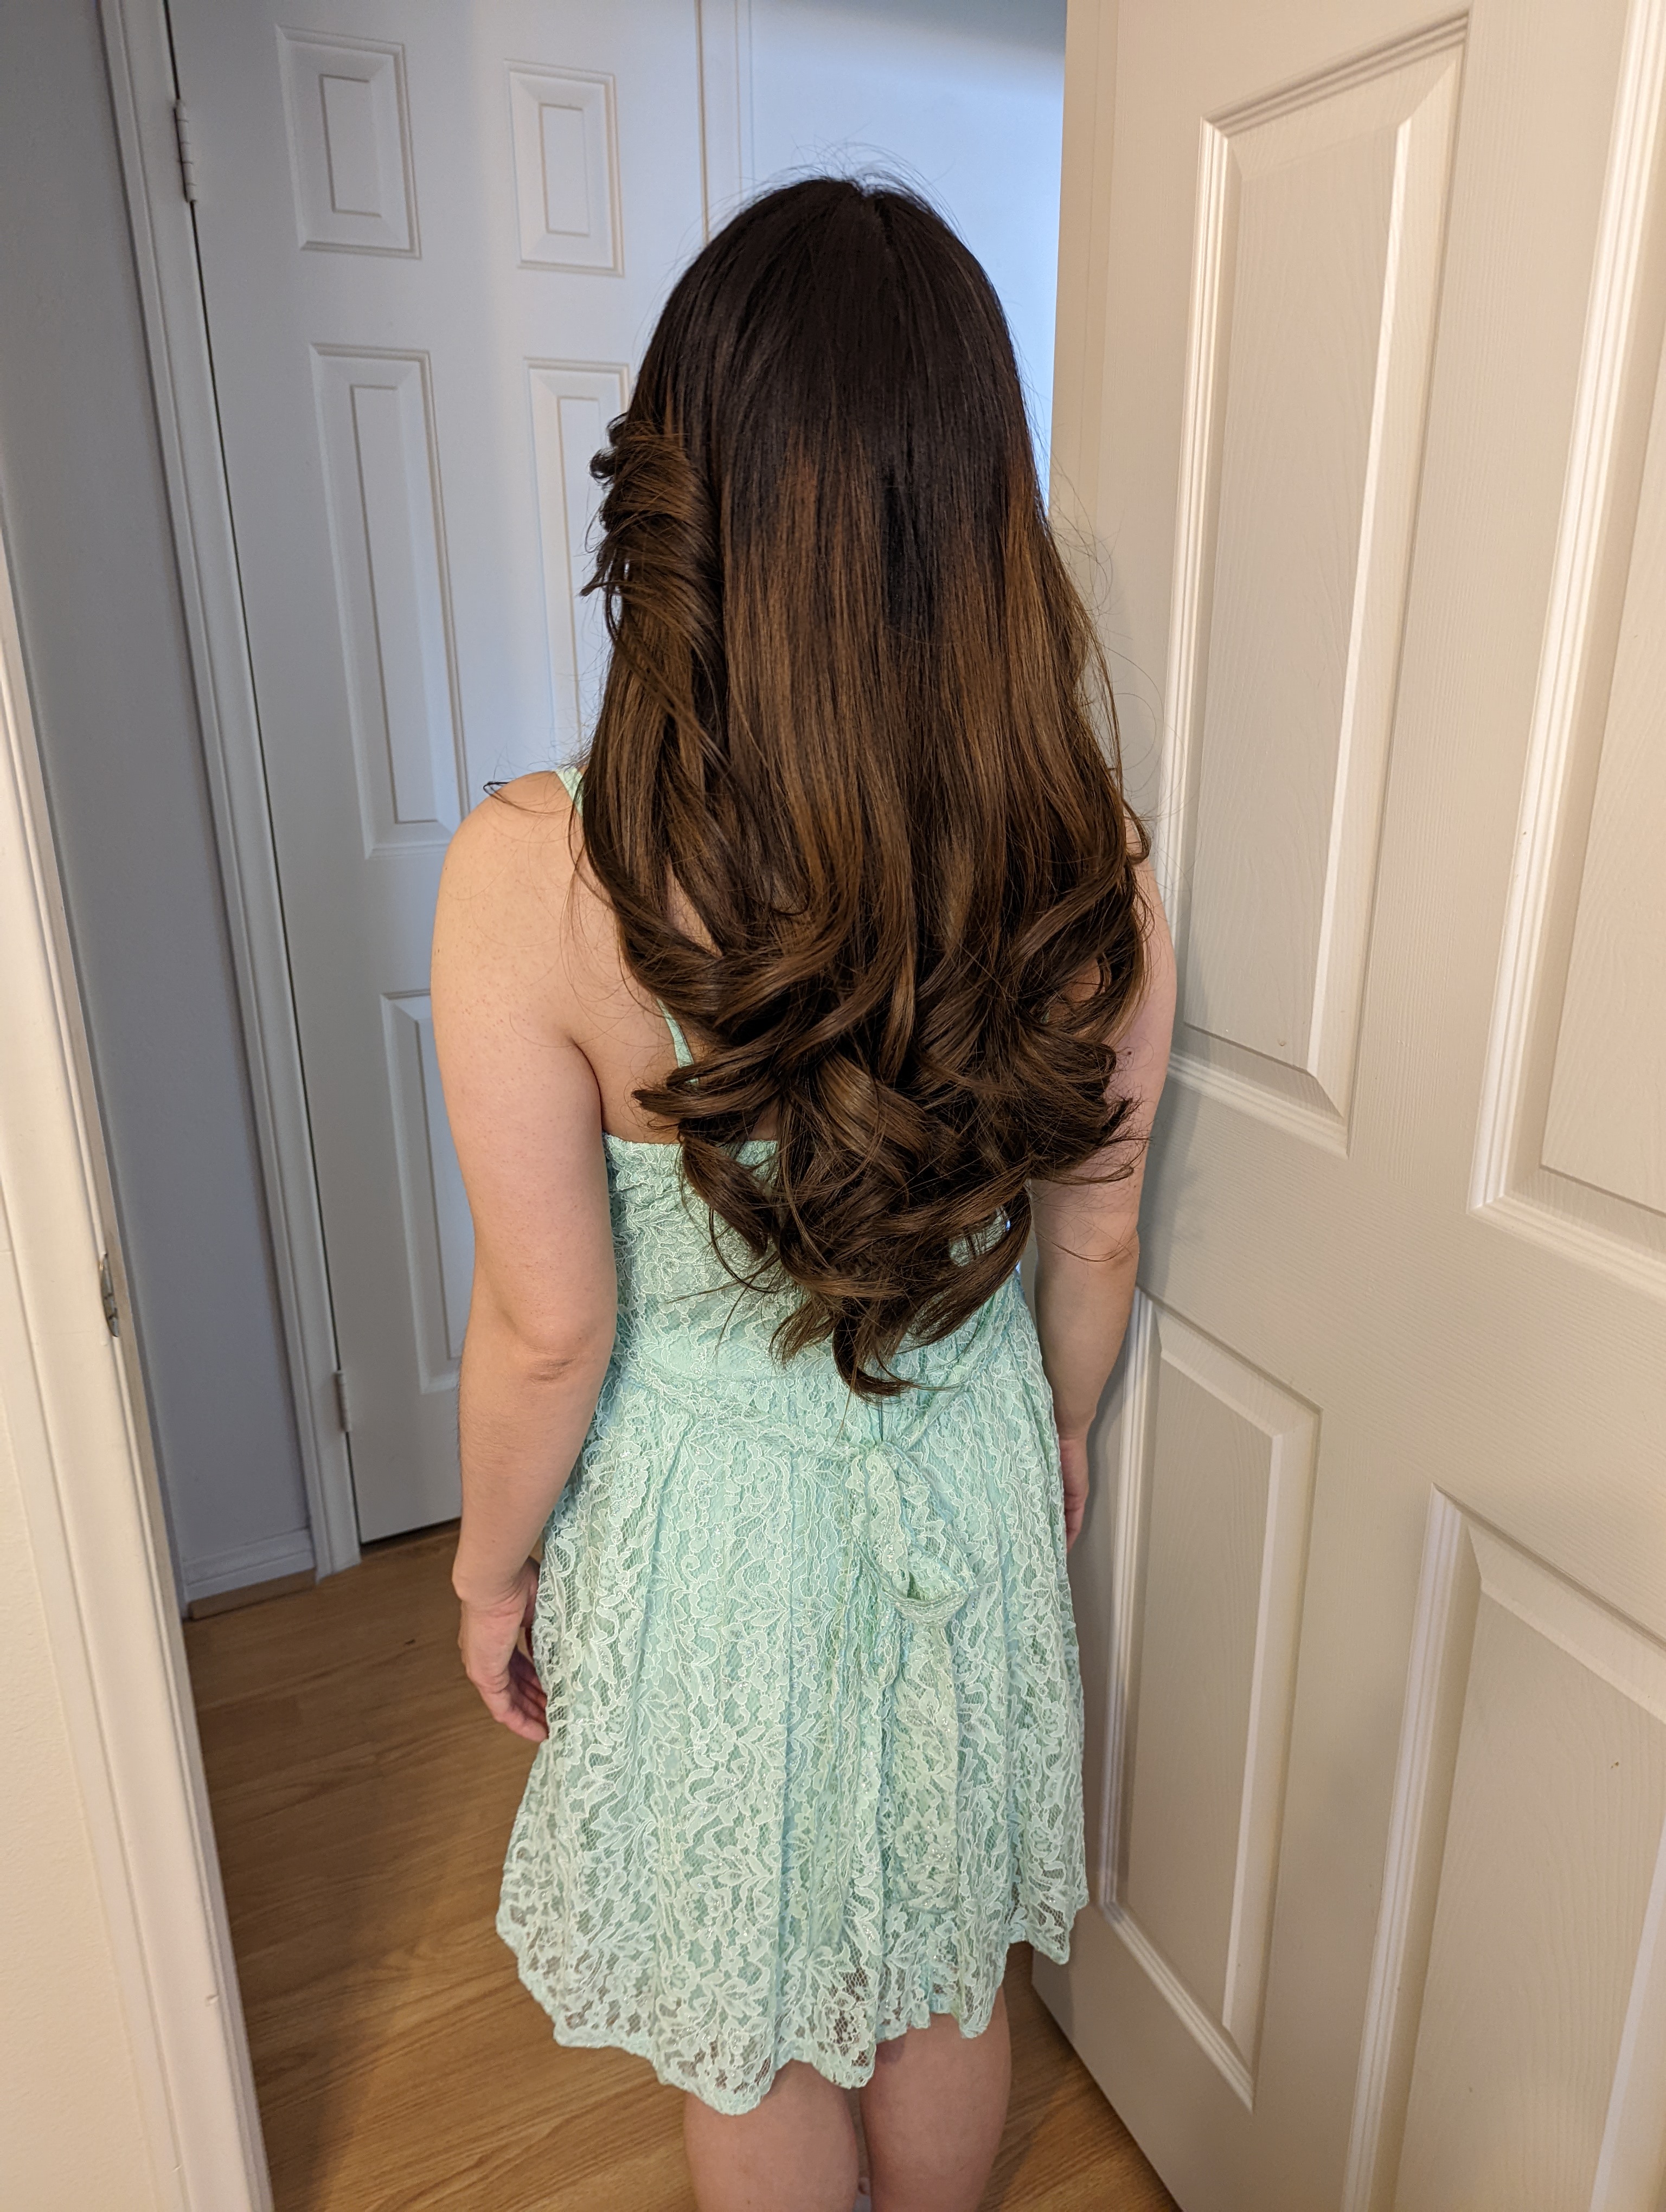 |
| Hair after at-home box dye |
To save money, I looked into and researched DIY at-home box hair dye.
But, there were so many questions: Which brand? What kind? What color? How does it work since my hair is already dyed? What if my hair becomes too dark or even lighter or orange? Which dye will not damage my hair any more than it already is?
I looked up photos of box dyes online and tried to match the yellow color of my hair to the final results from the box dye to establish what color level number (darkness or lightness of the hair) I was at. I did the same for my roots too to ensure that I didn't choose a color that was too dark. I then browsed the different box dye brands online and took a look at their color options and which color(s) were what I was aiming for. From there, I figured out which color level I was aiming for.
 |
| Credits to Clairol Professional |
I started watching videos on Youtube and turned to Pinterest to learn more about the color wheel and color theory so that I could choose the right "tone" for my hair. I decided I wanted either a cool or neutral tone and that I wanted something that would remove any brass (orange) that was in my dyed hair. Also, I wanted something that wouldn't damage my hair any more than it already was (although I know that it would still cause some damage). All of my research efforts led me to the Clairol Natural Instincts box hair dye in 6C (brass free light brown) color. Even though I arrived at this brand and color myself, I checked online for any reviews on the dye and color.
After researching and comparing prices, I ultimately purchased the hair dye from Amazon (came in a pack of 2 for $13.98, free shipping). I purchased two packs, since my hair was long. I decided to use one pack at a time so that I wouldn't end up with too much leftover (just in case!).
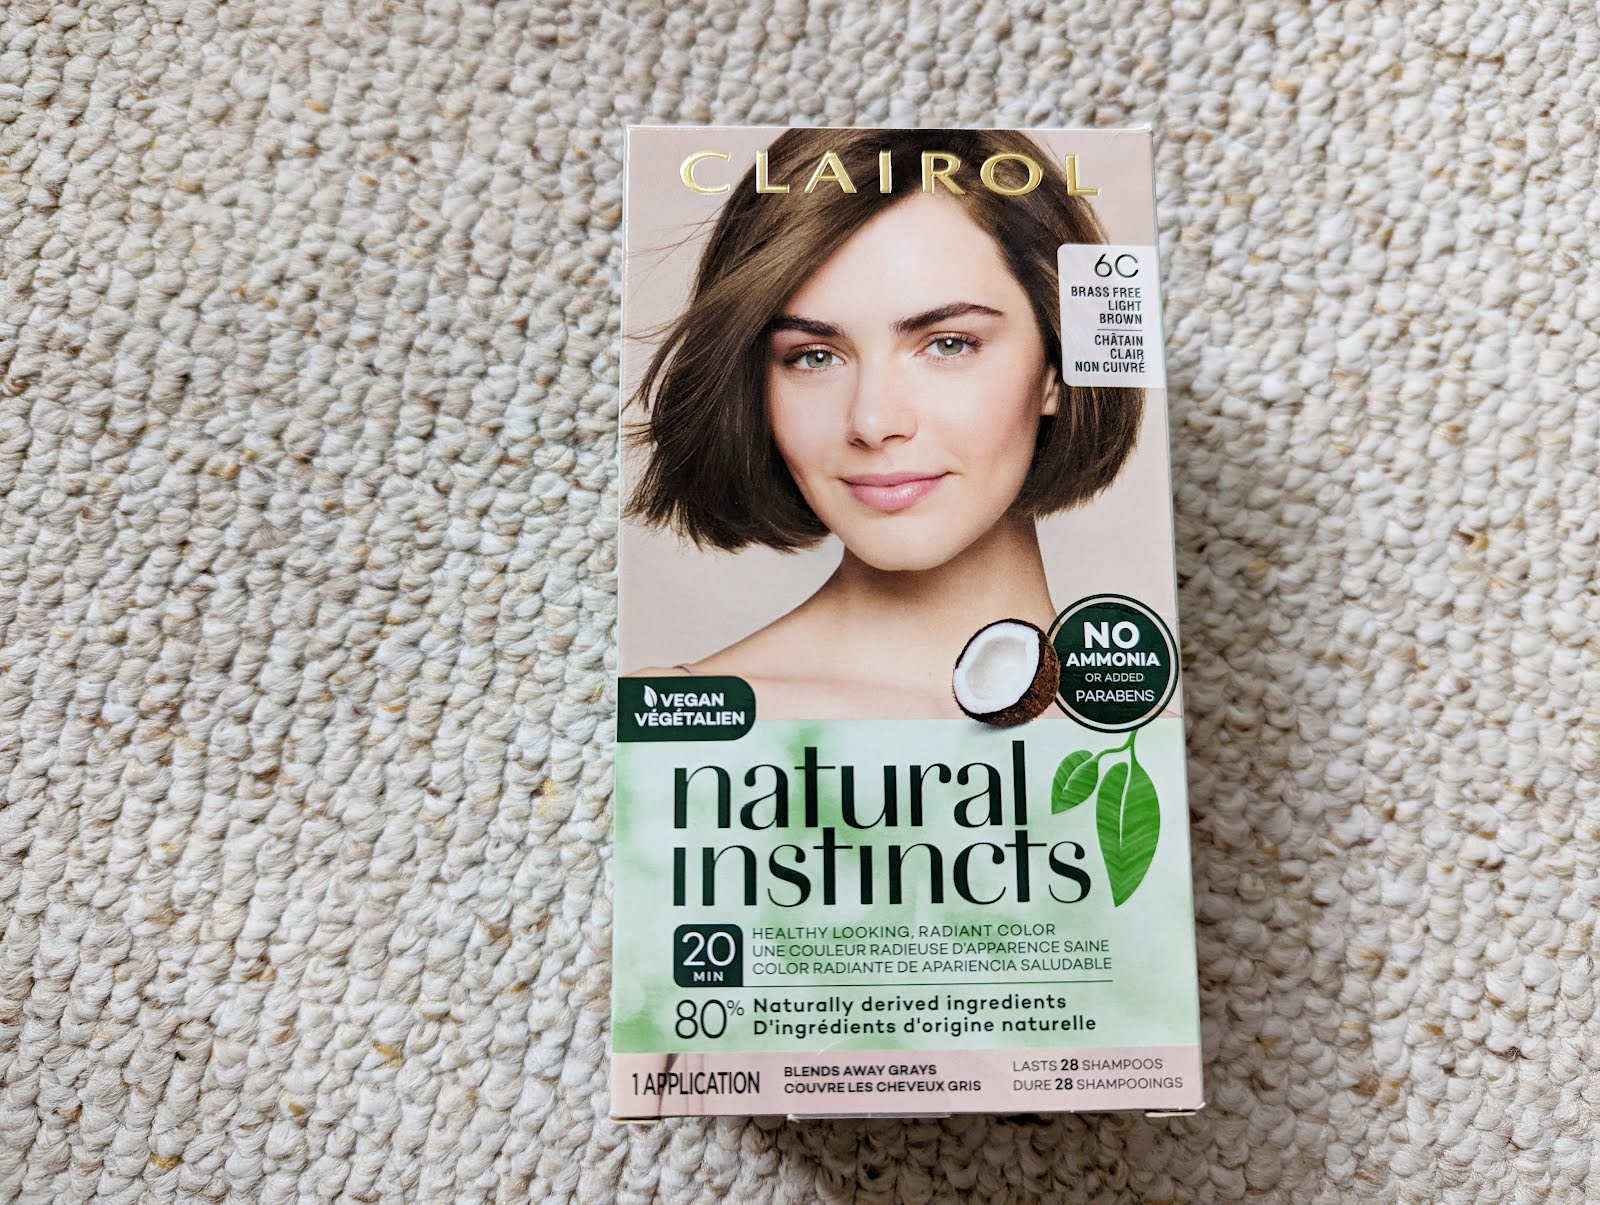 |
| Front of box |
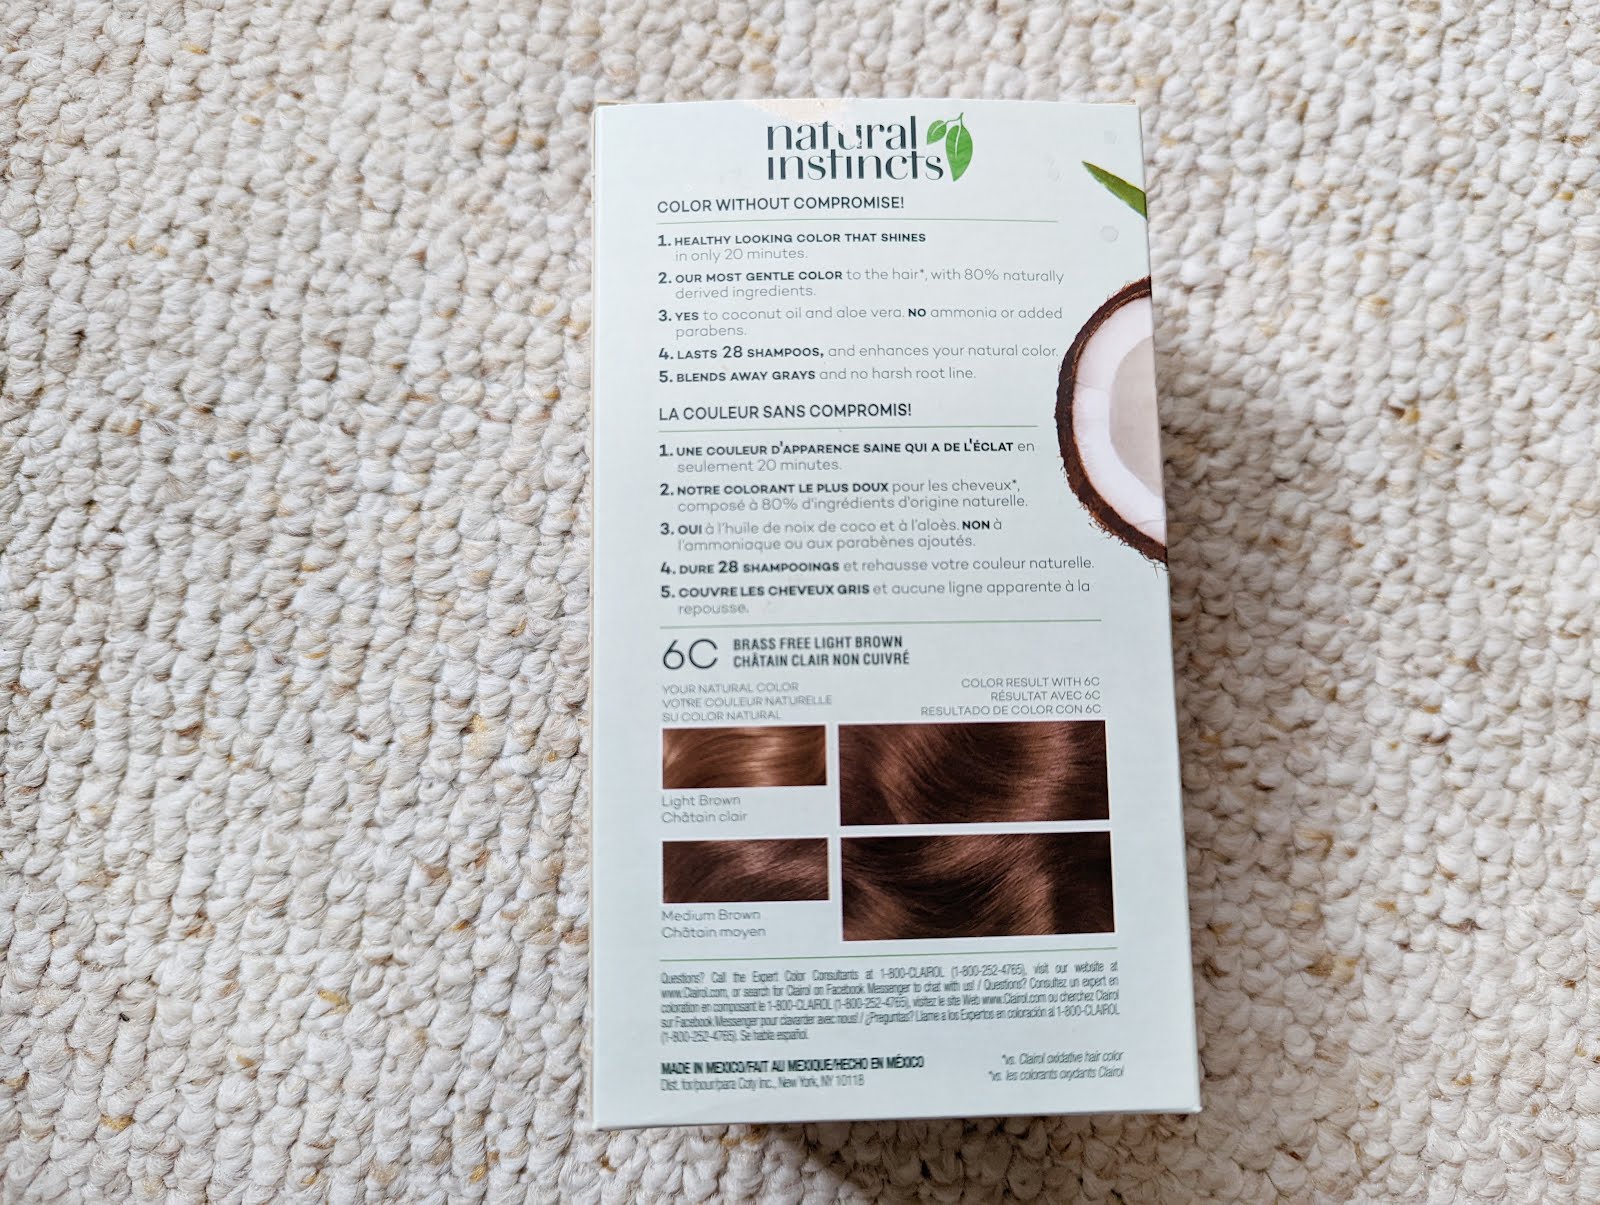 |
| Back of box |
The box dye was really easy to use. These are the steps I took:
- Squeeze content from Tube 1 into bottle 2. Cap bottle and shake until fully blended.
- Because I had colored my hair in the past 3 months, I applied the color from root to tip. I didn't apply a lot on the scalp portion, but I squeezed some dye going from my forehead hair area back to my neck. I did this in about 5-6 even sections of hair (that I eyeballed).
- At that point, I had about 2/3 of the bottle of dye left. I placed most of the dye starting from the tips and brushing with my gloved hands upwards a little past the part of the hair strand where the previous dye met my dark, virgin hair.
- Leave in for 45 minutes (the box instructions said 20 minutes, but I really wanted everything to soak in a bit).
- Wash hair until water runs clear.
- Apply color treatment conditioner included with the box dye kit. Leave on for 2 minutes, then rinse.
Having left the dye in a bit longer, I noticed that my dark, virgin hair now looked like it had some natural highlights in it. The color was also dark enough that it also brought the yellow to a nice light-medium brown color.
Since my hair is long and thick, you're probably wondering how I was able to get away with only using one box dye. Well, I did get a little lazy and was applying the dye in thicker chunks, which meant that there were some strands that didn't get saturated with/exposed to the dye. I only realized this after I washed the dye out and dried my hair. Everything came out alright overall, but there are some areas of hair that were still yellow. Luckily, those areas were in the middle parts of my hair, so were not noticeable!
.png)
The box dye did its job and lasted me about 4-6 weeks, and got me through my friend's wedding and some job interviews. Then, of course, my yellow hair came back!
-----
.png) |
| Found the post useful? Pin the image to share! |
Would you attempt your own hair dye or hair color correction at home? If so, what color(s) are you going for?
Nicole G.
Post a Comment
Share your thoughts and comments below!